For some time now I have been punishing my antenna tuner and radio by attempting to tune a ten-meter hamstick dipole to six meters. At times, I could just barely keep my radio transmitting long enough to squeeze out a few FT8 contacts. There had to be a better way to get on six meters. Sure, I could just buy a few more hamsticks for that band but I'd like to save that money for the purchase of a GOOD multi-band vertical, if at all possible, Plus I have a bunch of wire and building materials just laying around from my years of hoarding such things. So, I thought maybe I could try and build an antenna for six meters.
This is nothing new for me. In the past I have attempted to build a three element Yagi out of discarded tape measures, and even simpler, a dipole I made out of galvanized conduit. I was never able to get the Yagi to work properly and the PVC support for the tape measures sagged comically. I did however get the dipole to work somewhat properly, and I think I even recall making a contact to someone in Delaware., but the whole thing was heavy and unwieldy. I simply lacked the equipment, the knowledge, and the patience to make a decent antenna of moderate size.
Now a days we have great tools like the Nano VNA and PSK Reporter. For me this makes building and testing antennas so much easier. In the past I merely hooked an antenna up to my little MFJ-259 to see that it wouldn't burn out my finals if I transmitted. I really had no way of seeing any other attributes or performance statistics. At least none that I could visualize.
So, I think this time around I am better prepared to come up with a solution to getting onto the Magic Band.
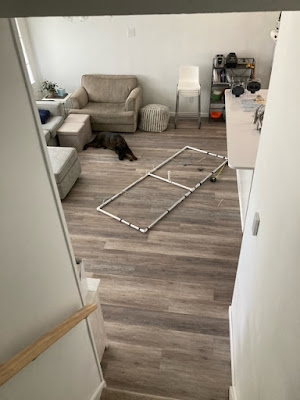
I had both heard, and read about an antenna called a Moxon, that offered decent front to back ratios, was compact, and depending on design very light weight. There are many webpages and videos that detail how to build these antennas but, in the end, I settled on this site. Not for any particular reason other than I had most of the materials needed for this design. I roughly used the dimensions outlined and just trimmed things until I liked what I saw. Below is the antenna in mid-construction. I merely used electrical tape to secure the wires to the PVC, knowing this was just a test and not anything permanent.
Once I got the antenna together and up on a mast it was time to tune it. The antenna was about twelve feet off of the ground and I took some readings with the NanoVNA.
The first reading came up a bit low. Around 47.5Mhz. Much too low for the six-meter band.


No comments:
Post a Comment